
I wanted to personalize my daughter’s birthday invitations for her classmates. So I searched for minnie mouse invitations to have an idea on what to do. I combined all the things I saw. So here’s the product of my research.
Materials
I bought some brown cartolina (or cheap board may also be used) as the base of the card. I planned to have a folded invitation, just like a normal birthday card. I also bought black cartolina for minnie’s silhouettes, different patterned gift wrapper (some of which were in my stock already), pink and white polka gift wrapper (for minnie’s ribbon and pouch), colored paper (I bought this months before intended for Ria’s home art activities), pink boards (to border minnie’s silhouettes), abaca fiber (for name tags), colored pens (a little gift for the invitees), pink ribbon (for minnie’s ribbon) and a compass (for circles).
I also printed the party details, names, and tracing names as well as minnie’s silhoutte templates. I assembled first the base card to know how big the templates should be.
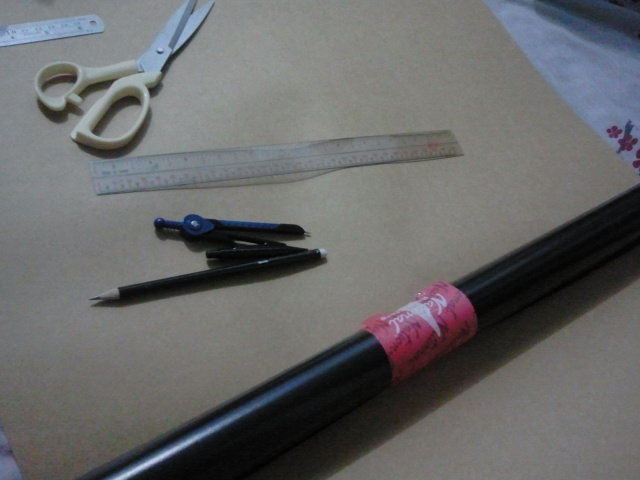
base materials, cheap board/cartolina, black cartolina for minnie silhouette, compass

minnie silhouette templates
Using the mickey/minnie silhouette template, I traced it on black cartolina and minnie’s ribbon and pouch on the pink polka dots wrapper.
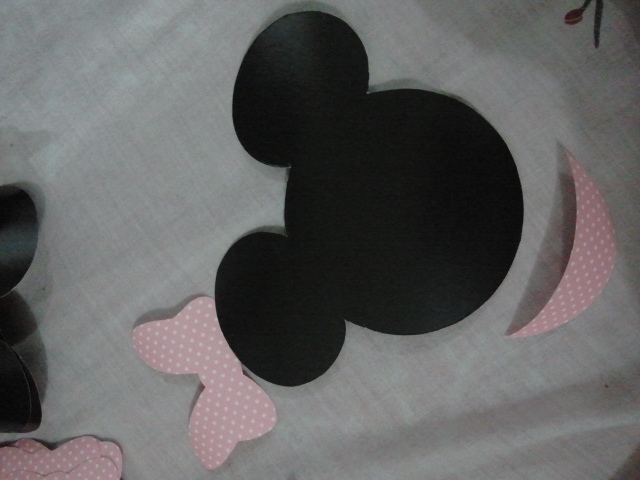
sample minnie cutouts
Then assembled them like this. I put some glue on the border of the pouch only to give space for the party details.

assembled silhouette
I cut some patterned gift wrappers and plain colored papers for the front page design. I wanted it to be like a scrapbook. They’re just few inches in size.

scrapbook materials for design
I traced smaller templates of mickey on the black cartolina and pasted them on the pink board. Then I cut the mickey’s to have these:

minnie mouse silhouettes for front page
I assembled the patterned wrappers, colored papers and minnie’s. I put a ribbon on mickey’s silhouette to make it look like minnie. I just tied the ribbon at the center and pasted the whole thing on a white board.
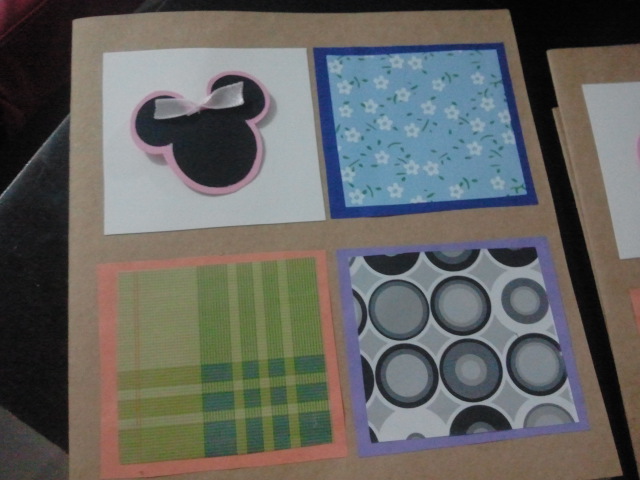
assembled front design
Next, I cut the party details in circles to fit the minnie pouch and inserted the cutouts to each pouch. The pouch was glued to the right fold of the card.

invitation message
Then I cut the names for tracing and pasted them on a patterned paper. I just designed the left side of the fold as simple as possible to avoid crowded page. I cut the center to create a pen holder and inserted the colored pens I bought.

center fold
As finishing touches, I glued the “Oh Toodles” sign at the center of the card with pink polka wrapper border. Enclosed the invitation by a strip of brown or black paper and tied the name of the invited guest.

finished product
Here is the whole batch of invitations. I also gave her teachers their own invitations. 🙂
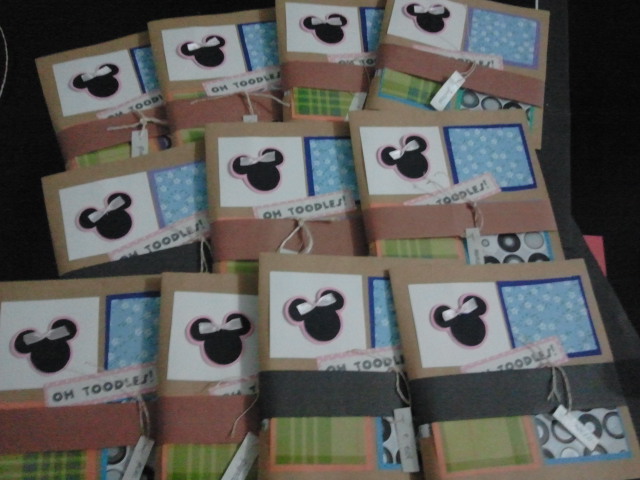
batch
Good luck on your invitation-making! 🙂

thank you for share your idea , its going to help me a lot , but can you tell me what size is the invitation pls???
It’s 1/2 of a letter size paper then folded in half 🙂